Advertisement
When working with 3D graphics, you'll often come across meshes that use either vertex colors or textures to add visual detail. Vertex-colored meshes assign colors directly to the mesh’s vertices, which then blend across the surface. This method keeps things lightweight and simple. But when you need more detailed or photo-realistic visuals—especially for game assets or detailed rendering—textures usually do a better job. So, how do you move from vertex colors to a fully textured model?
This guide walks through that conversion step-by-step. No overcomplication, just the straightforward process and the tools you’ll likely use.
To convert a vertex-colored mesh into one that uses textures, you're essentially baking the color data from the vertices onto a 2D image file—a texture map. This image then wraps around your model using UV coordinates. Once that’s done, your mesh no longer needs the vertex color data because the color now comes from the texture.
This switch gives you more flexibility later, especially if you're optimizing assets or exporting them to different platforms.
Before anything else, your mesh needs UV coordinates. These are what tell the texture how to wrap around your model. Vertex-colored meshes don’t always come with UVs, so this might be your first stop.
Open your 3D model in your software of choice—Blender, Maya, or something similar. Check if there's already a UV map. If there is, and it's clean, great. If not, you'll need to create one.
Keep your UVs non-overlapping and within the 0-1 UV space unless you're intentionally tiling textures.
Once UVs are set, you’re ready to transfer the vertex color data into a texture file.
Create a new blank image in your software that will store the baked color. A resolution of 2048x2048 is a good starting point if you want decent detail, but this can be adjusted based on your needs.
Each 3D software handles baking a little differently, but the general idea is the same:
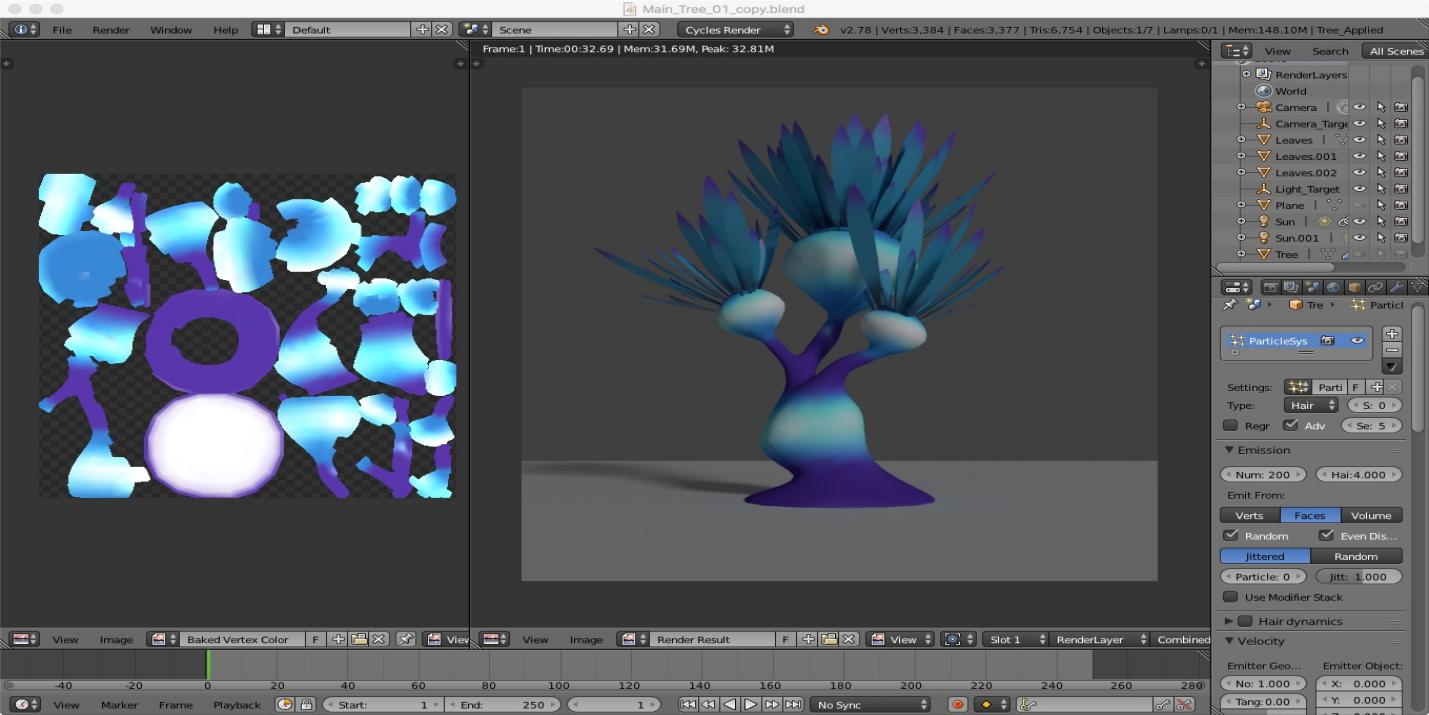
Blender will now transfer the vertex colors into the texture, using the UVs as the guide.
This step gives you the actual image file that mimics how your mesh looked when it used vertex colors.
After baking, the next thing is to actually use that texture on the model and clean up anything you don’t need.
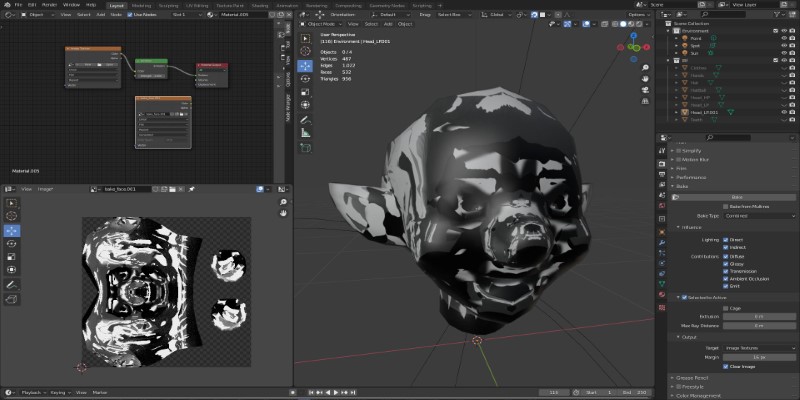
Replace the old shader or material with one that uses your new texture map. In Blender, this means:
In other software, the process is similar—load the texture image into the material slot that controls color.
Now, take a close look at the model. Rotate it under different lighting, zoom in on details, and see if the texture holds up. If there are weird lines or smudges, you might need to tweak your UVs or try baking at a higher resolution.
Once everything checks out, you can remove the vertex color data. It’s not necessary anymore and just takes up space. In Blender, for example, this can be done from the Object Data Properties panel under "Color Attributes." Just delete the vertex color layer.
At this stage, your mesh now uses a texture file, and it’s ready for whatever comes next—game engines, rendering pipelines, or other tools.
Make sure to save your baked texture as a standalone file (like PNG or JPEG). If you forget this step, the texture could get lost the next time you close your project.
When exporting your model (say as FBX or OBJ), make sure to:
Whether it’s Unity, Unreal Engine, or just another 3D tool, test the export there. Make sure everything looks as expected. Sometimes, a texture path might need reassigning, or a normal map might need flipping, depending on the tool.
Converting vertex-colored meshes into textured ones isn’t complicated, but it does require attention to detail. Once you understand the workflow—setting up UVs, baking the data, applying the texture, and cleaning up—it becomes a repeatable process you can use across projects. You get more flexibility in how your models look and work, especially when you need consistent visuals across different platforms.
Advertisement

Hugging Face and JFrog tackle AI security by integrating tools that scan, verify, and document models. Their partnership brings more visibility and safety to open-source AI development

How stochastic in machine learning improves model performance through randomness, optimization, and generalization for real-world applications

Understand how deconvolutional neural networks work, their roles in AI image processing, and why they matter in deep learning
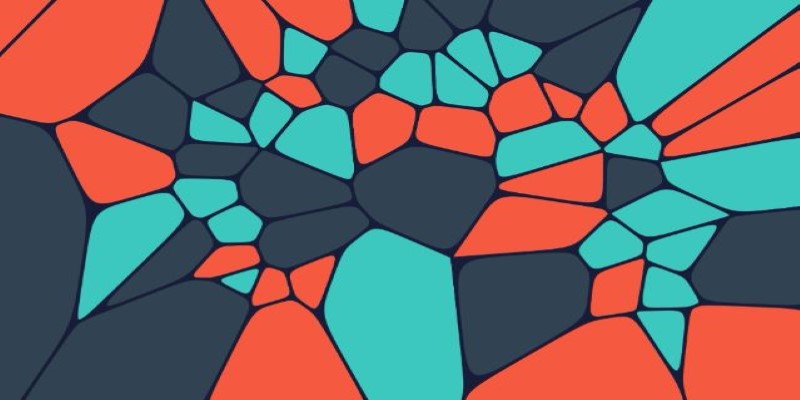
How Voronoi diagrams help with spatial partitioning in fields like geography, data science, and telecommunications. Learn how they divide space by distance and why they're so widely used

Natural language generation is a type of AI which helps the computer turn data, patterns, or facts into written or spoken words

How Krutrim became India’s first billion dollar AI startup by building AI tools that speak Indian languages. Learn how its large language model is reshaping access and inclusion
Learn how to bake vertex colors into textures, set up UVs, and export clean 3D models for rendering or game development pipelines

How to run LLM inference on edge using React Native. This hands-on guide explains how to build mobile apps with on-device language models, all without needing cloud access

What data annotation is, why it matters in machine learning, and how it works across tools, types, and formats. A clear look at real-world uses and common challenges

How AI-powered earthquake forecasting is improving response times and enhancing seismic preparedness. Learn how machine learning is transforming earthquake prediction technology across the globe
AI interference lets the machine learning models make conclusions efficiently from the new data they have never seen before

AGI is a hypothetical AI system that can understand complex problems and aims to achieve cognitive abilities like humans